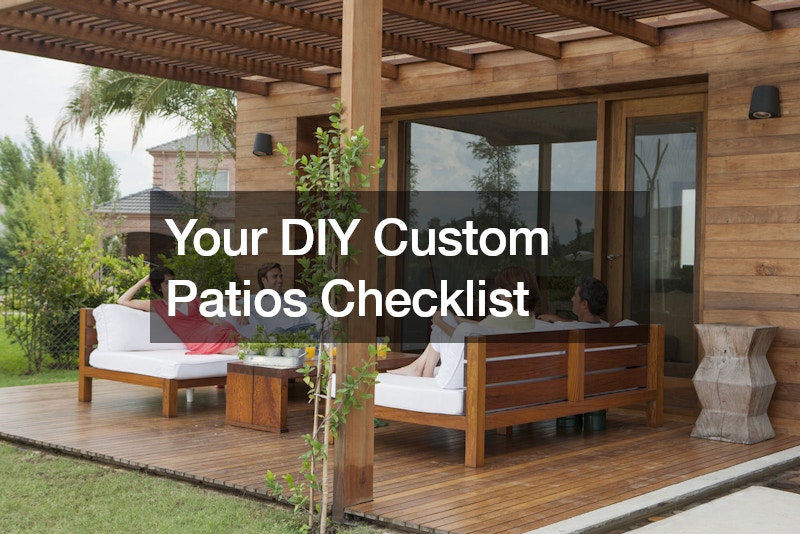
As you set out to build custom patios, begin with a clear plan. Define what you want your patio to achieve—will it be a hub for entertaining, a quiet dining area, or a tranquil spot for relaxation? Measure your outdoor space carefully and draft a scale drawing to visualize your concept, ensuring the design harmonizes with your home’s architecture.
Before breaking ground, clear the designated area of vegetation, rocks, and other debris. It’s crucial to start with a level base, which may entail digging out soil to achieve a flat surface. Always check for underground utilities to avoid any potential hazards.
Lay a solid foundation by spreading a gravel base for efficient drainage, topped with a layer of sand to create an even platform. Compaction is key to preventing your materials from shifting later on. Begin laying your chosen materials at the edge of the space, working your way inward. Use a rubber mallet to secure each piece and keep a spirit level close at hand to maintain an even surface.
After all materials are laid, fill the joints with sand to stabilize your patio, and consider applying a sealant to guard against weathering. If you plan to enhance your patio with features like lighting or a fire pit, ensure you follow local codes. Integrate your patio with the landscape by planning for water runoff and adding plants or shrubs for a touch of nature. Regular upkeep will keep your DIY patio looking its best. With attention to detail and a step-by-step approach, you’ll craft an outdoor space that extends your living area and brings joy for years to come.
.


