Why buy new when you can make something better from materials headed for the trash?
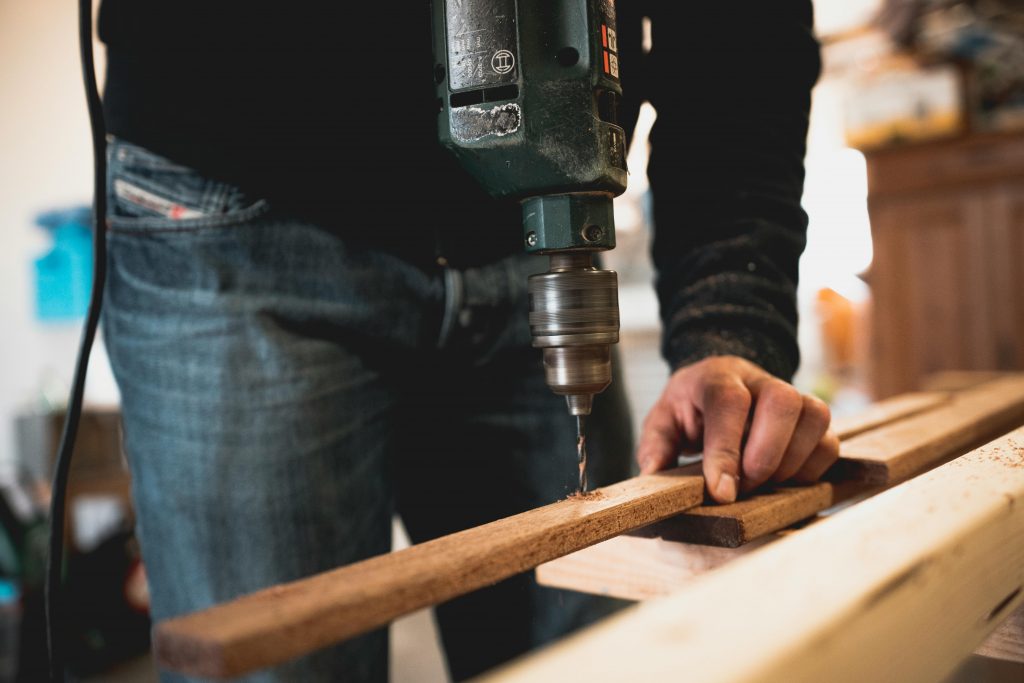
For eco-conscious DIYers, small woodworking projects using reclaimed wood are the perfect blend of sustainability, creativity, and budget-friendliness. Plus, you get that sweet satisfaction of building it yourself—and keeping perfectly good wood out of the landfill.
Let’s break down how to get started, where to find reclaimed wood, and 10 easy projects (with step-by-step instructions) that anyone can make.
Why Recycling Wood Matters for Your DIY Projects
If you’ve ever asked yourself, “is wood recyclable?” The answer is a clear yes! Recycling wood means taking materials that might otherwise be discarded and giving them new purpose—perfect for small woodworking projects using reclaimed wood. This not only helps reduce landfill waste but also supports sustainability by conserving natural resources. Using recycled or reclaimed wood in your DIY builds is a smart way to create unique, budget-friendly pieces while making an eco-conscious choice.
Where Do You Find Reclaimed Wood?
Good news: it’s everywhere, if you know where to look.
- Old furniture – Nightstands, tables, dresser drawers = goldmine.
- Shipping pallets – Look behind grocery or hardware stores (ask first).
- Renovation leftovers – Ask friends or check construction dumpsters.
- Habitat for Humanity ReStores – Great selection of salvaged wood.
- Craigslist / Freecycle / Facebook Marketplace – Search for “free wood” or “scrap lumber.”
Quick tip: Sand off dirt and grime. Avoid pressure-treated or painted wood from before 1978 (could contain lead).
What Can You Make? 10 Awesome Small Woodworking Projects Using Reclaimed Wood
Each of these projects is beginner-friendly, doesn’t require fancy tools, and turns scrap into something super functional.
1. Wall-Mounted Key Holder
A stylish place for keys, dog leashes, or even mail.
Tools & Supplies:
- Small wood plank (about 10-14 inches long)
- Sandpaper
- Hooks (screw-in or mounted)
- Wood glue or screws
- Wall mounting hardware
Steps:
- Clean & sand the plank until smooth.
- Mark and screw in hooks evenly spaced along the bottom half.
- (Optional) Add a small shelf using a second piece of wood and L-brackets.
- Mount to the wall near your entryway and enjoy a clutter-free counter.
2. Rustic Phone Charging Station
Keep cords neat and your phone upright while charging.
Tools & Supplies:
- Small wood block or board
- Drill and spade bit
- Sandpaper
- Wood finish (optional)
Steps:
- Cut wood to roughly 6×4 inches.
- Drill a vertical slot deep enough to hold your phone at a slight angle.
- Drill a hole through the bottom for the charging cable.
- Sand smooth and apply a finish if desired.
3. Floating Wall Shelves

Functional, minimal, and great for using up longer scrap pieces.
Tools & Supplies:
- Reclaimed wood planks (any length)
- Wall brackets or floating shelf mounts
- Drill
- Screws and anchors
Steps:
- Cut your wood to desired shelf size.
- Sand edges and apply a stain or leave natural.
- Install brackets or hidden mounts on the wall.
- Mount the shelf securely and level
4. Bathroom Organizer Tray
Perfect for organizing toiletries, perfumes, or candles.
Tools & Supplies:
- Wood board (around 12×5 inches)
- Small corner trim pieces (optional for raised edges)
- Sandpaper
- Wood glue or nails
Steps:
- Cut and sand your wood base.
- Cut trim to form a frame around the edge (optional).
- Glue or nail trim into place.
- Finish with a waterproof sealer.
5. Wooden Coasters
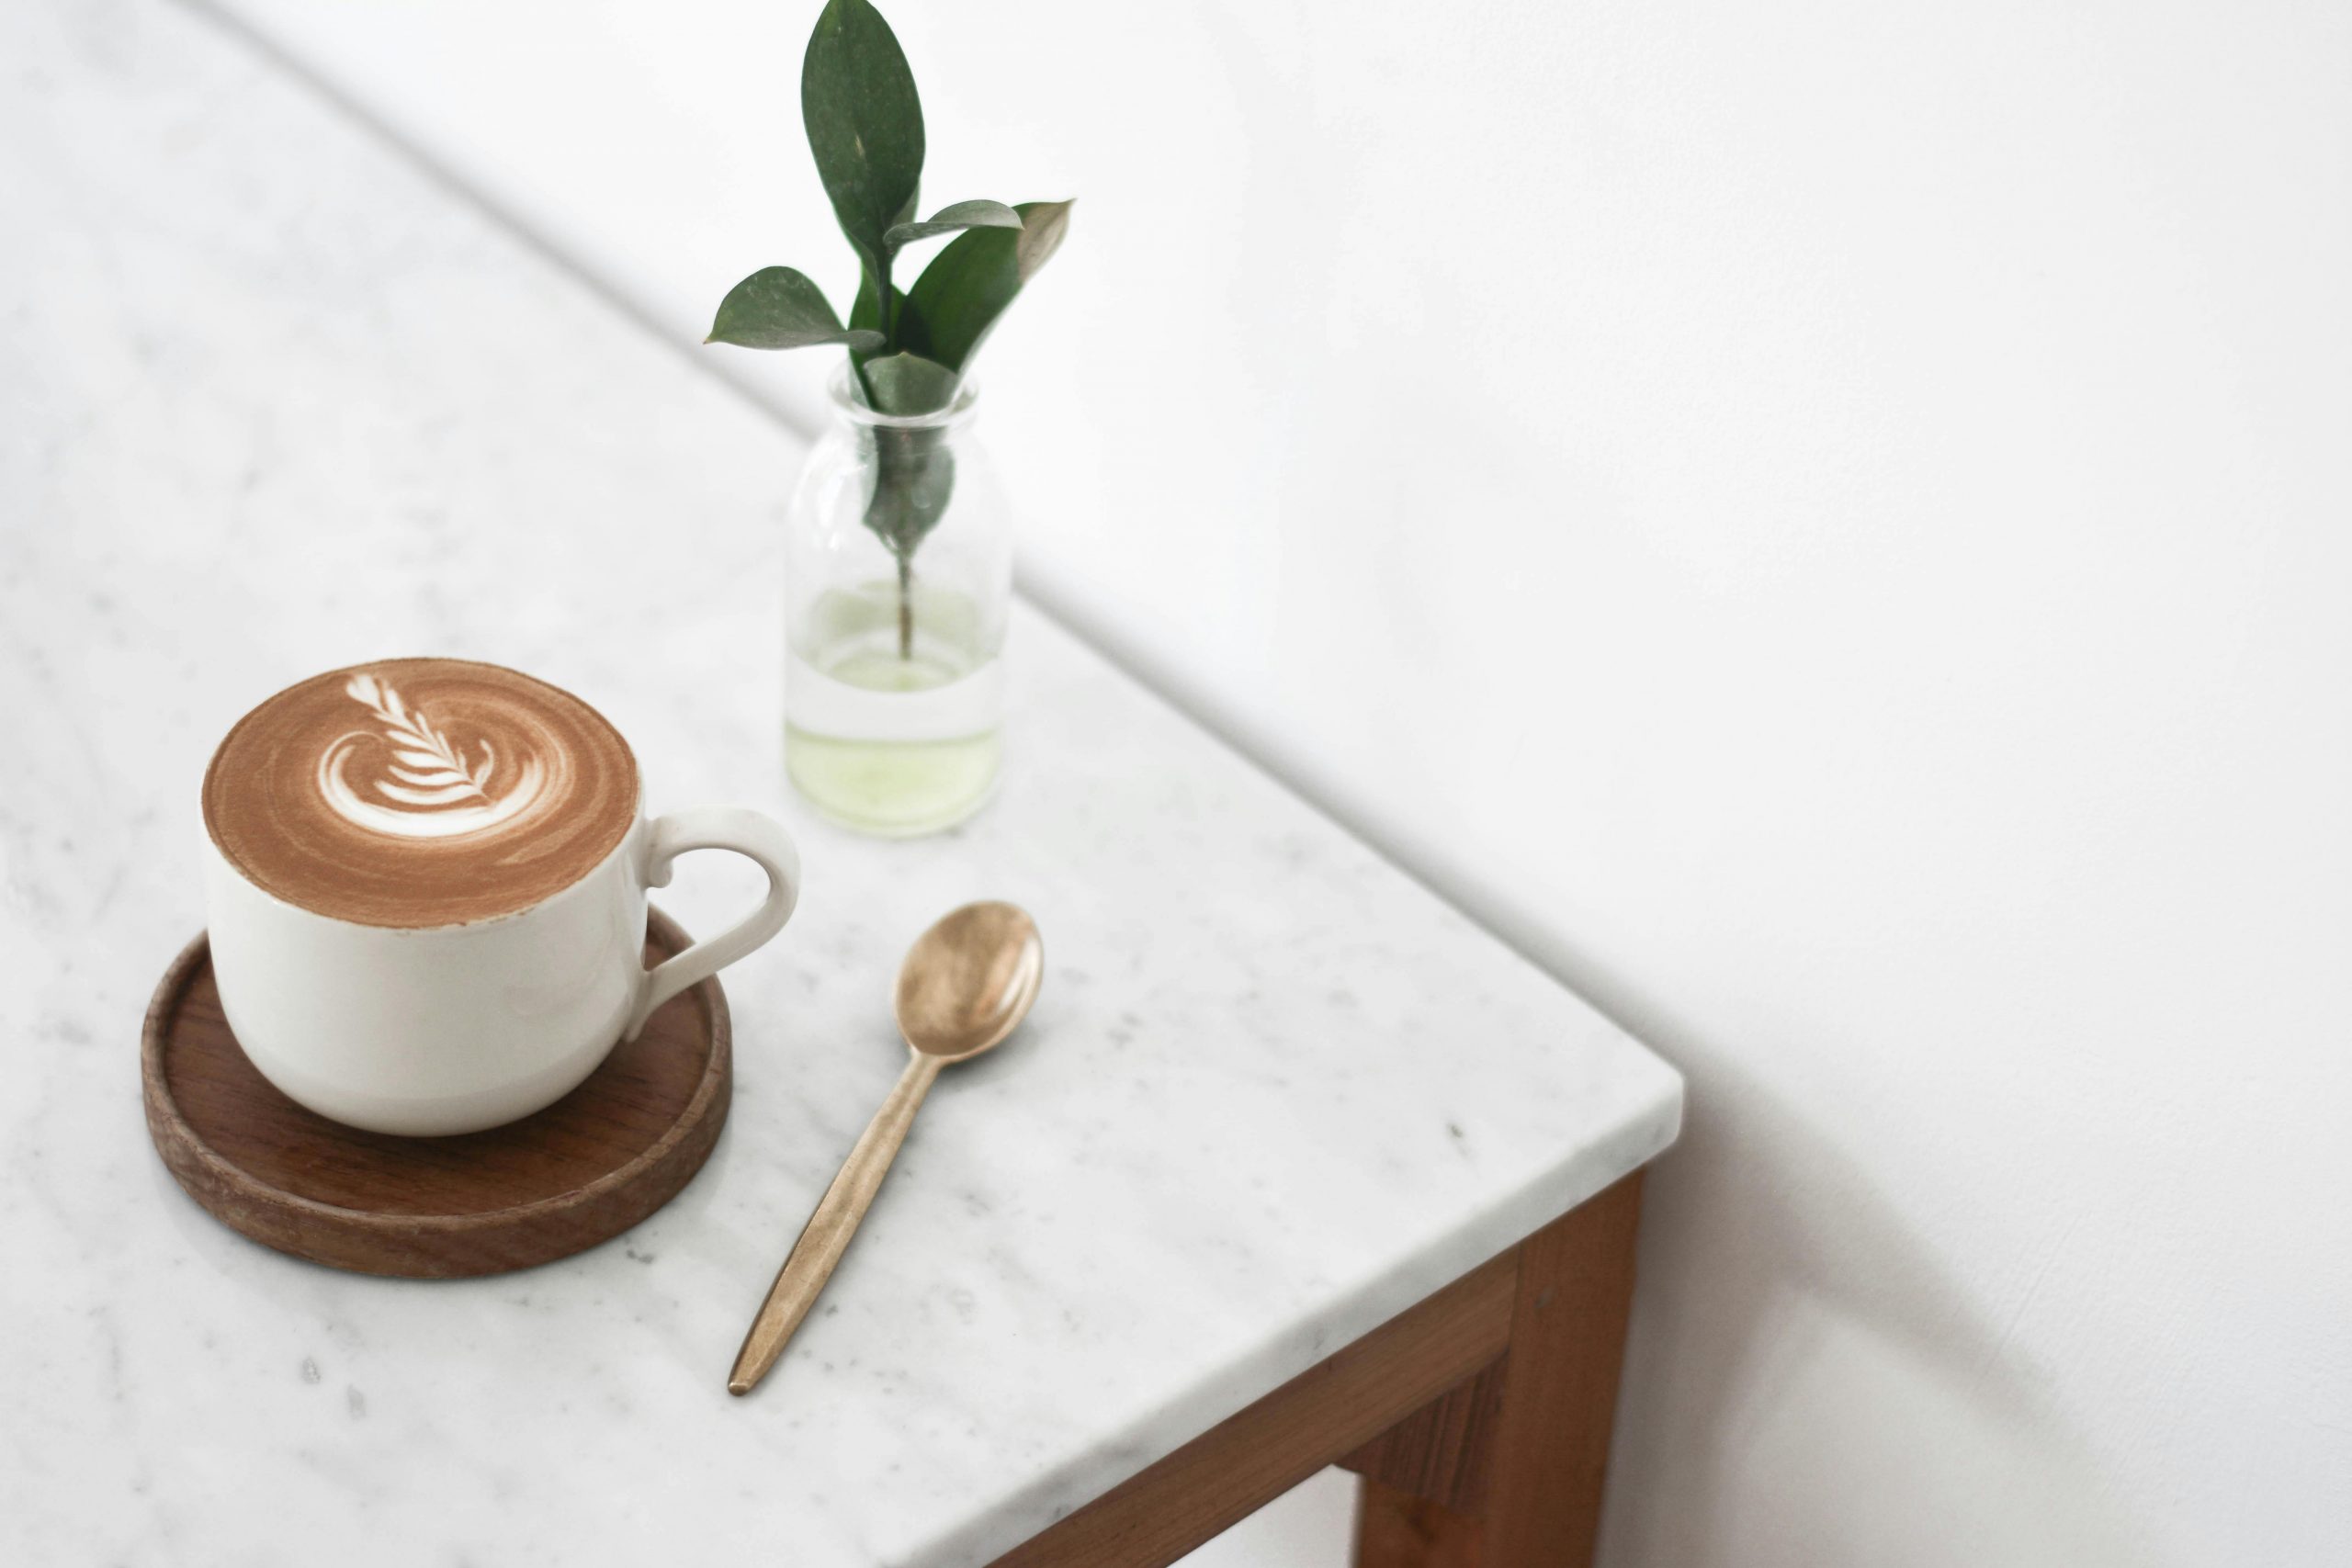
A go-to scrap wood project that makes great gifts.
Tools & Supplies:
- Small wood scraps (3.5″ squares or circles)
- Sandpaper
- Wood burner or food-safe sealer
Steps:
- Cut wood pieces to size.
- Sand smooth—especially the edges.
- (Optional) Decorate with a wood burner or stencil.
- Seal with a food-safe finish like mineral oil or beeswax.
6. Candle Holder Block
Rustic and elegant—perfect for a centerpiece or gift.
Tools & Supplies:
- Thick wood block (approx. 8–12″ long)
- Forstner or spade bit
- Drill
- Sandpaper
Steps:
- Mark holes evenly spaced across the top.
- Drill candle-size holes about 1/2″ deep.
- Sand edges for a smooth, finished look.
- (Optional) Apply stain or leave natural for a raw vibe.
7. Picture Frame
A handmade frame gives art or photos a personal touch.
Tools & Supplies:
- Thin reclaimed wood (1–2″ wide)
- Saw and miter box (or miter saw)
- Glue and clamps
- Backing board and hanging hardware
Steps:
- Cut four pieces with 45° angles.
- Glue and clamp into a rectangle.
- Insert photo with a backing board.
- Add hanging wire or sawtooth hook.
8. Framed Mirror
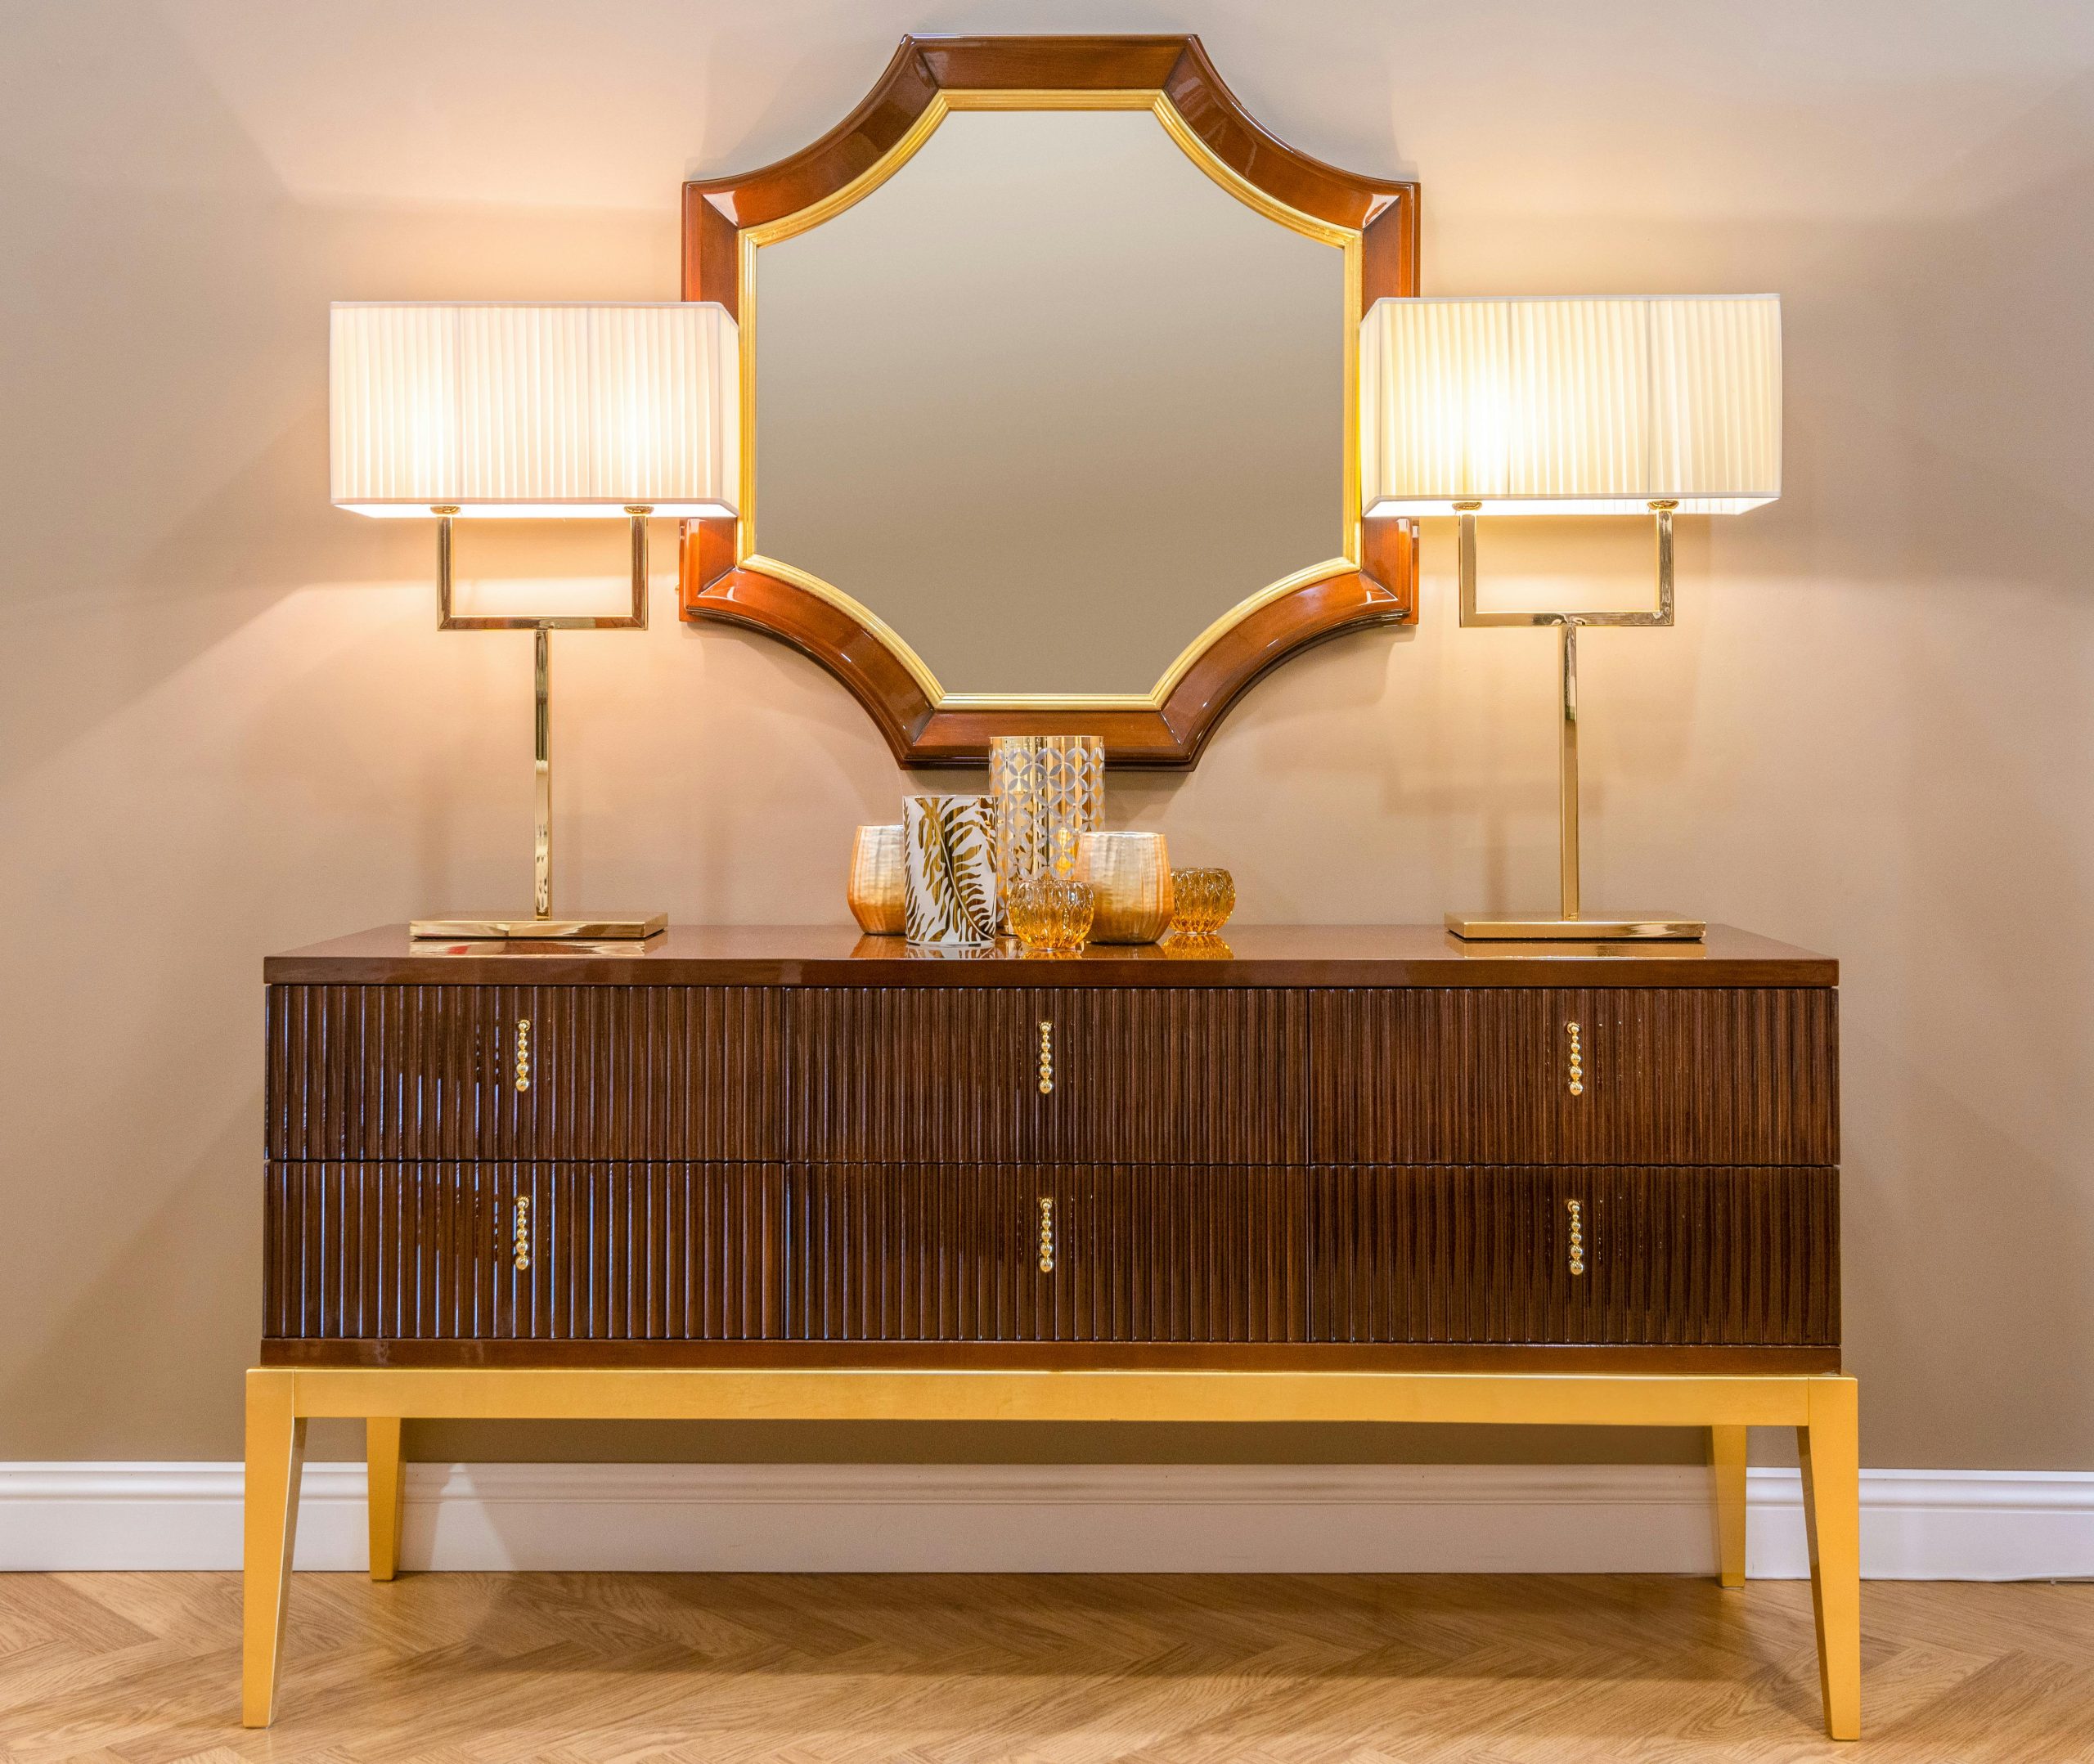
Upcycle an old mirror with a reclaimed wood border.
Tools & Supplies:
- Mirror
- Reclaimed wood planks
- Wood glue, nails, or screws
- Hanging hardware
Steps:
- Measure and cut wood to frame the mirror.
- Glue and attach wood to the mirror’s edges.
- (Optional) Stain or paint the frame.
- Hang securely on the wall.
9. Serving Tray
Bring breakfast in bed, sustainably.
Tools & Supplies:
- Flat wood base
- Two side pieces for handles
- Wood screws or glue
- Handles (optional)
Steps:
- Cut base and sides to size.
- Attach sides to the base using screws or wood glue.
- Add handles if desired.
- Sand smooth and seal for durability.
10. Vertical Herb Planter
A space-saving and stylish way to grow herbs indoors or out.
Tools & Supplies:
- Pallet wood or long planks
- Small containers or jars
- Screws, brackets, or clamps
Steps:
- Build a frame or use a vertical board as a backer.
- Attach containers evenly spaced down the board.
- (Optional) Label each herb using chalk paint or tags.
- Mount vertically on a wall, fence, or balcony rail.
Closing Thoughts
Reclaimed wood isn’t just a smart choice—it’s a creative one. With a few simple tools and a bit of inspiration, you can turn forgotten scraps into something both useful and beautiful. Whether you’re organizing your space, adding rustic charm, or crafting meaningful gifts, each project gives new life to old materials. And the best part? You’ll walk away with something handmade, sustainable, and uniquely yours.